Prepare the fields
Complete this step in the ClickSyncr interface and save the configuration.
Brevo integration
Connect Ninja Forms to Brevo and every form submission becomes a contact in the Brevo list you choose. The free ClickSyncr for Brevo plugin adds a ClickSyncr Brevo…
A clear setup path
Keep the existing form and configure the destination beside the workflow you already use.
Complete this step in the ClickSyncr interface and save the configuration.
Complete this step in the ClickSyncr interface and save the configuration.
Complete this step in the ClickSyncr interface and save the configuration.
Complete this step in the ClickSyncr interface and save the configuration.
Complete this step in the ClickSyncr interface and save the configuration.
Connect Ninja Forms to Brevo and every form submission becomes a contact in the Brevo list you choose. The free ClickSyncr for Brevo plugin adds a ClickSyncr Brevo action in the Ninja Forms builder: connect your API key once, pick a list, map your fields, save. So there is no code, and it takes about two minutes per form.
You need three things: the ClickSyncr for Brevo plugin activated, Ninja Forms active, and a Brevo account with permission to create an API key. You store the key once, and every supported builder on the site then shares it.
WordPress ClickSyncr.Treat the key like a password. Anyone holding it can read and modify your Brevo lists and contacts.
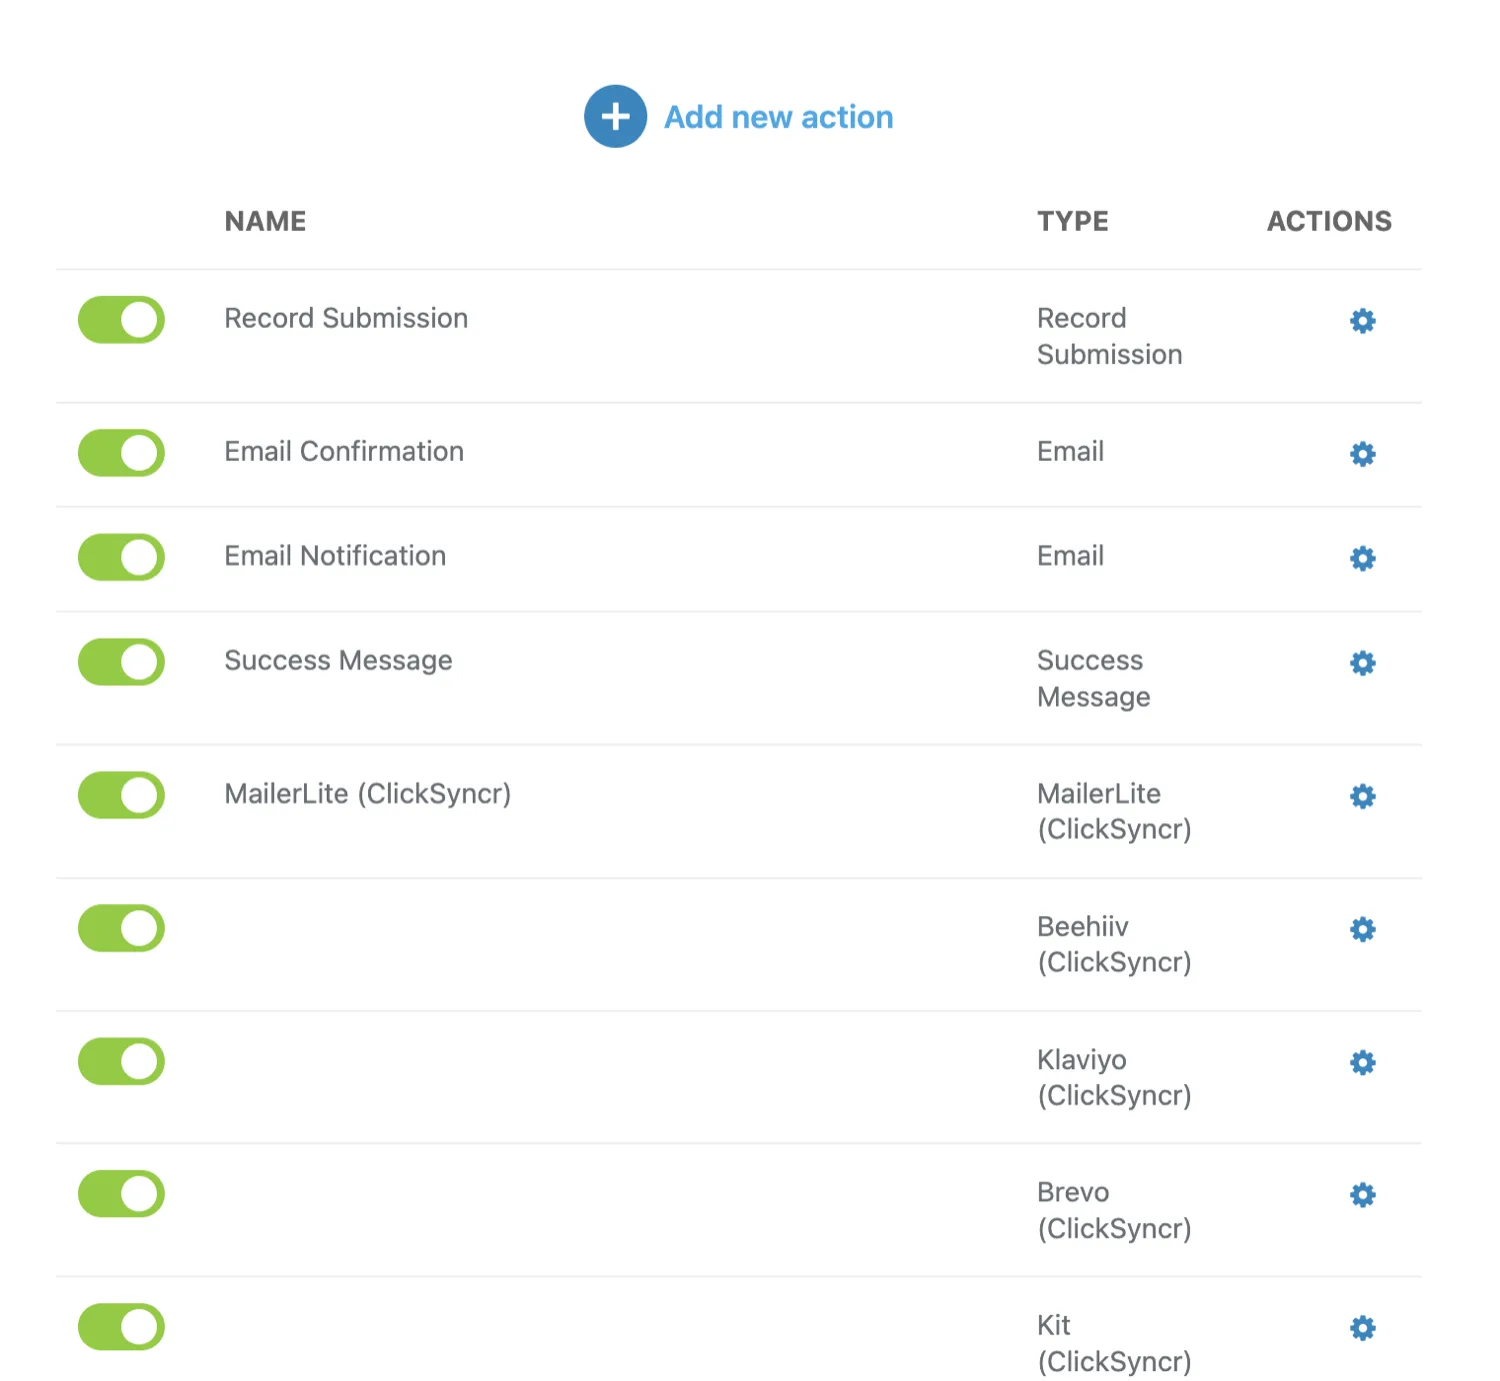
Brevo identifies contacts by email, so Email is the one required mapping. Every other row maps to your account’s contact attributes, such as FIRSTNAME, LASTNAME, SMS and any custom attributes you have created, and ClickSyncr loads them with their types once the key connects. ClickSyncr converts values to each attribute’s real type: a number field arrives in Brevo as a number, a checkbox as true or false, not as text. Also, ClickSyncr simply skips an unmapped field and never overwrites existing contact data with a blank value. If a visitor types an invalid phone number, ClickSyncr drops only that field and still syncs the contact.
Each form chooses how contacts arrive: added right away (the Brevo default), or confirmation email, which uses Brevo’s double opt-in so the contact only joins the list after clicking the confirmation link. The confirmation path needs a double opt-in template in your Brevo account. A consent field overrides it per submission: ticked adds right away, unticked sends the confirmation email. Brevo matches contacts by email, so it updates existing contacts instead of duplicating them.
First, submit the form on the front end (not the admin preview) with a test address you can recognise, filling every mapped field. Then, in Brevo, open Contacts and confirm the contact exists, sits in the list you selected, and carries the mapped attribute values with their proper types. In short, that one minute catches almost every configuration mistake.
| Symptom | Cause and fix |
|---|---|
| The list dropdown is empty | The key is missing or mistyped, or you revoked it in Brevo. Re-paste the v3 key and reconnect. A key with a trailing space is the classic culprit. |
| Submissions do not appear in Brevo | Nine times out of ten the Email field is not mapped. It is the one required mapping. Fix it, then submit a fresh test. |
| A new list or attribute is not listed | The catalog is cached briefly. Use the refresh control in the Ninja Forms settings. |
| The contact syncs but an attribute is empty | Either that attribute is unmapped, it was blank on the submission, or the value was an invalid phone number, which drops on its own, so the contact still arrives. Empty values never wipe existing Brevo data. |
| No confirmation email arrives | The form uses the confirmation-email status but your Brevo account has no double opt-in template. Create one in Brevo, or switch the form to add contacts right away. |
Yes. The ClickSyncr Brevo action appears in the free Ninja Forms builder; no paid extension is needed.
Yes. The action syncs only the forms you add it to, each with its own list and mapping.
ClickSyncr for Brevo also connects Contact Form 7 · WPForms · Gravity Forms · Fluent Forms · Formidable Forms · Forminator. Overview, features and pricing: Brevo integration for WordPress. Browse all ClickSyncr integrations.
“Brevo” is a trademark of Sendinblue SAS. ClickSyncr for Brevo is an independent integration and is not affiliated with, endorsed by, or sponsored by Sendinblue SAS.
Your next subscriber is one connection away
Install ClickSyncr, connect your platform, and publish your first tested sync in about two minutes.
Built by Renzo Johnson