Prepare the fields
Complete this step in the ClickSyncr interface and save the configuration.
EmailOctopus integration
ClickSyncr for EmailOctopus is a EmailOctopus integration for WordPress forms: it turns form submissions into EmailOctopus subscribers automatically. It works with Contact Form 7, WPForms, Gravity Forms, Ninja…
A clear setup path
Keep the existing form and configure the destination beside the workflow you already use.
Complete this step in the ClickSyncr interface and save the configuration.
Complete this step in the ClickSyncr interface and save the configuration.
Complete this step in the ClickSyncr interface and save the configuration.
Complete this step in the ClickSyncr interface and save the configuration.
Complete this step in the ClickSyncr interface and save the configuration.
ClickSyncr for EmailOctopus is a EmailOctopus integration for WordPress forms: it turns form submissions into EmailOctopus subscribers automatically. It works with Contact Form 7, WPForms, Gravity Forms, Ninja Forms, Fluent Forms, Formidable Forms, and Forminator: whichever builder your site uses, every submission lands in the EmailOctopus list you choose, with field mapping and no code required.
ClickSyncr integrates natively with each builder, so the EmailOctopus settings live where you already work. Each name links to its step-by-step setup guide:
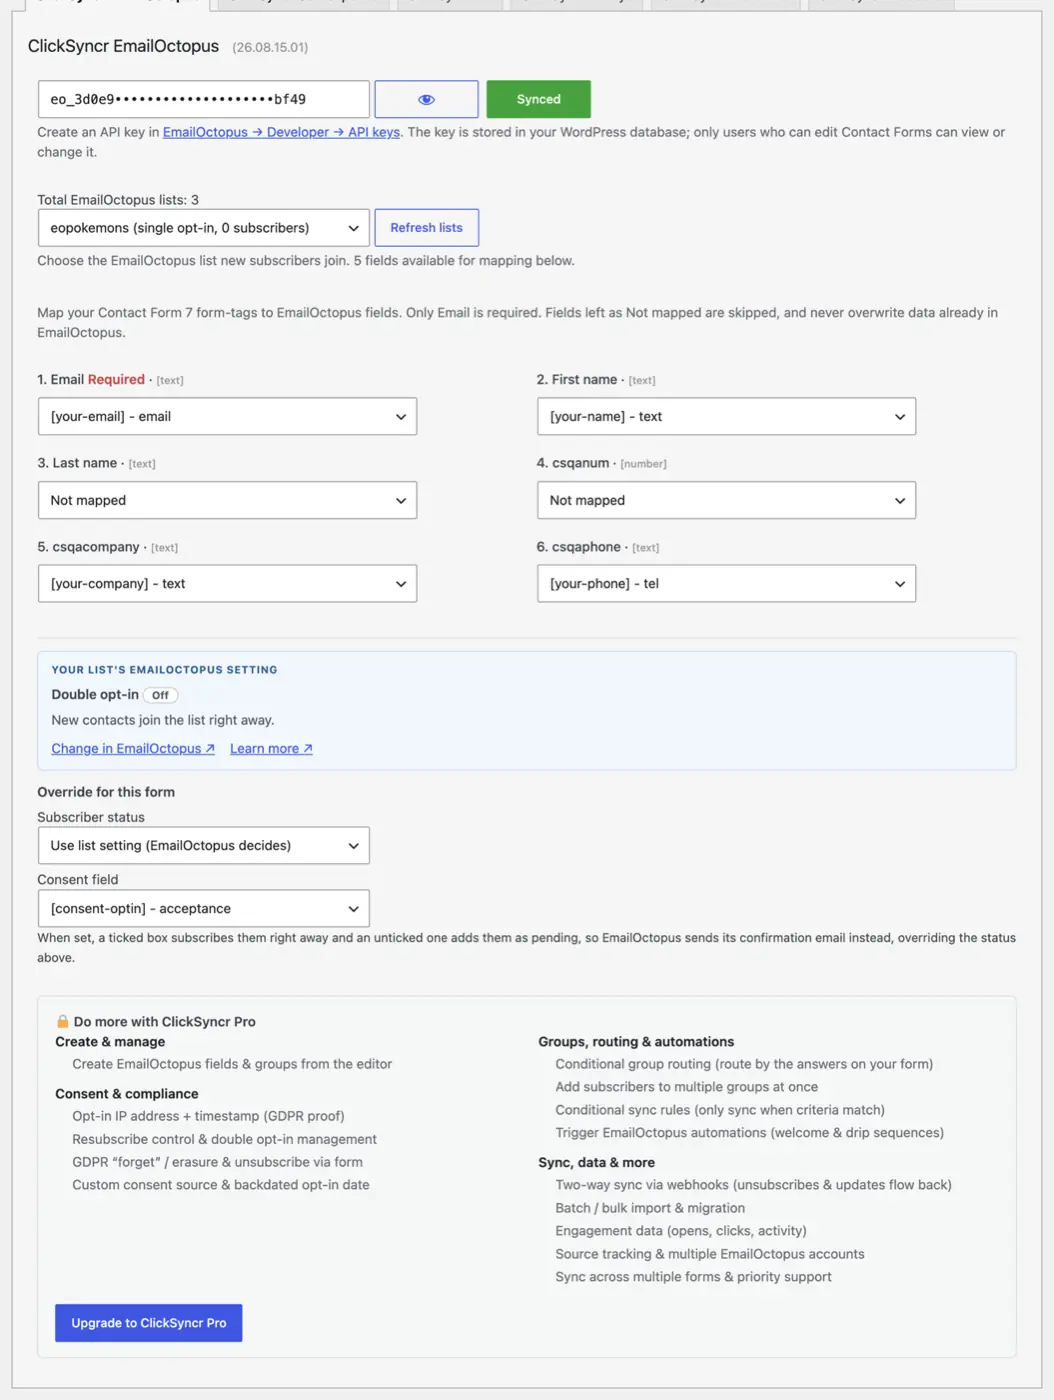
Treat the key like a password. Anyone holding it can read and modify your EmailOctopus audience.
Any of them. If your site already runs Contact Form 7, WPForms, Gravity Forms, Ninja Forms, Fluent Forms, Formidable Forms, or Forminator, ClickSyncr connects the forms you already have to EmailOctopus: there is no reason to switch builders just to grow your list. The plugin only loads the integrations for builders you actually have active, and the sync behaves identically on all seven.
“EmailOctopus” is a trademark of Three Hearts Digital Ltd. ClickSyncr for EmailOctopus is an independent integration and is not affiliated with, endorsed by, or sponsored by Three Hearts Digital Ltd.
26.10.03.13
PHP 7.4 support and debug tools
Now runs on PHP 7.4 through 8.5, with improved debug tools and bug fixes.
26.09.05.11
Assets and debug tools
Improved assets loading and added debug tools.
26.09.04.18
The form panel as cards
The EmailOctopus panel on every form is redesigned around cards: groups and fields as tiles, one explanation per setting in EmailOctopus's own words, and the Pro rows on the same panel when ClickSyncr Pro is licensed.
26.08.24.11
First release on WordPress.org
ClickSyncr Form Sync for EmailOctopus syncs form submissions to an EmailOctopus list from seven form builders. One API key covers them all, and each form picks its own list.
Your next subscriber is one connection away
Install ClickSyncr, connect your platform, and publish your first tested sync in about two minutes.
Built by Renzo Johnson